Dog urine and your lawn
Home / Lawn Guides / Dog urine and your lawn

Dog urine and your lawn
Not all dogs burn the lawn
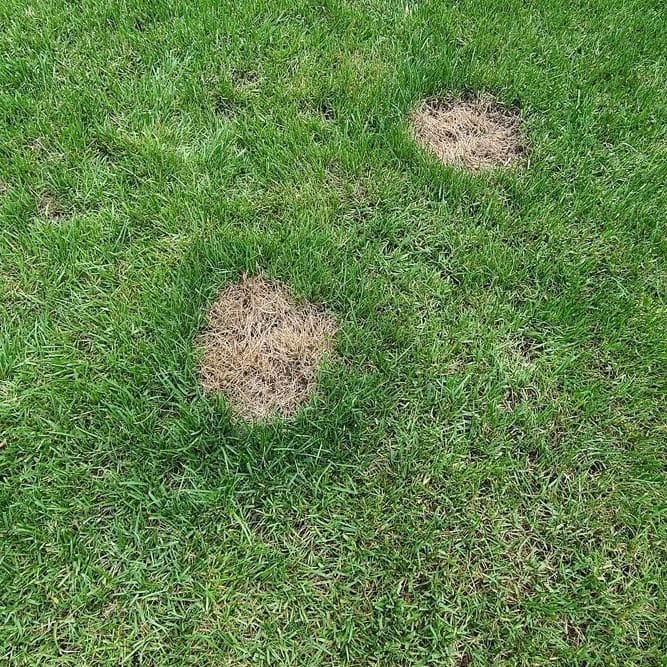
Dog urine can be a frustrating problem for any homeowner, especially when it leaves unsightly patches on your lawn. Dog urine can contain high levels of nitrogen, which can damage the grass and cause it to turn yellow, brown and then die.
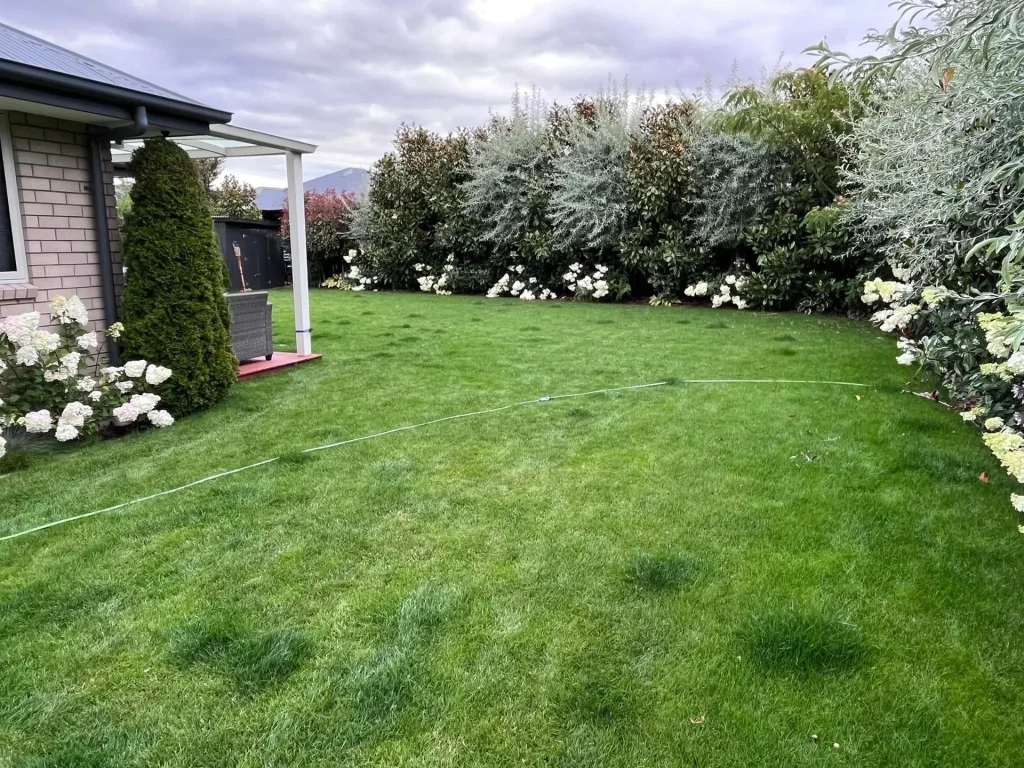
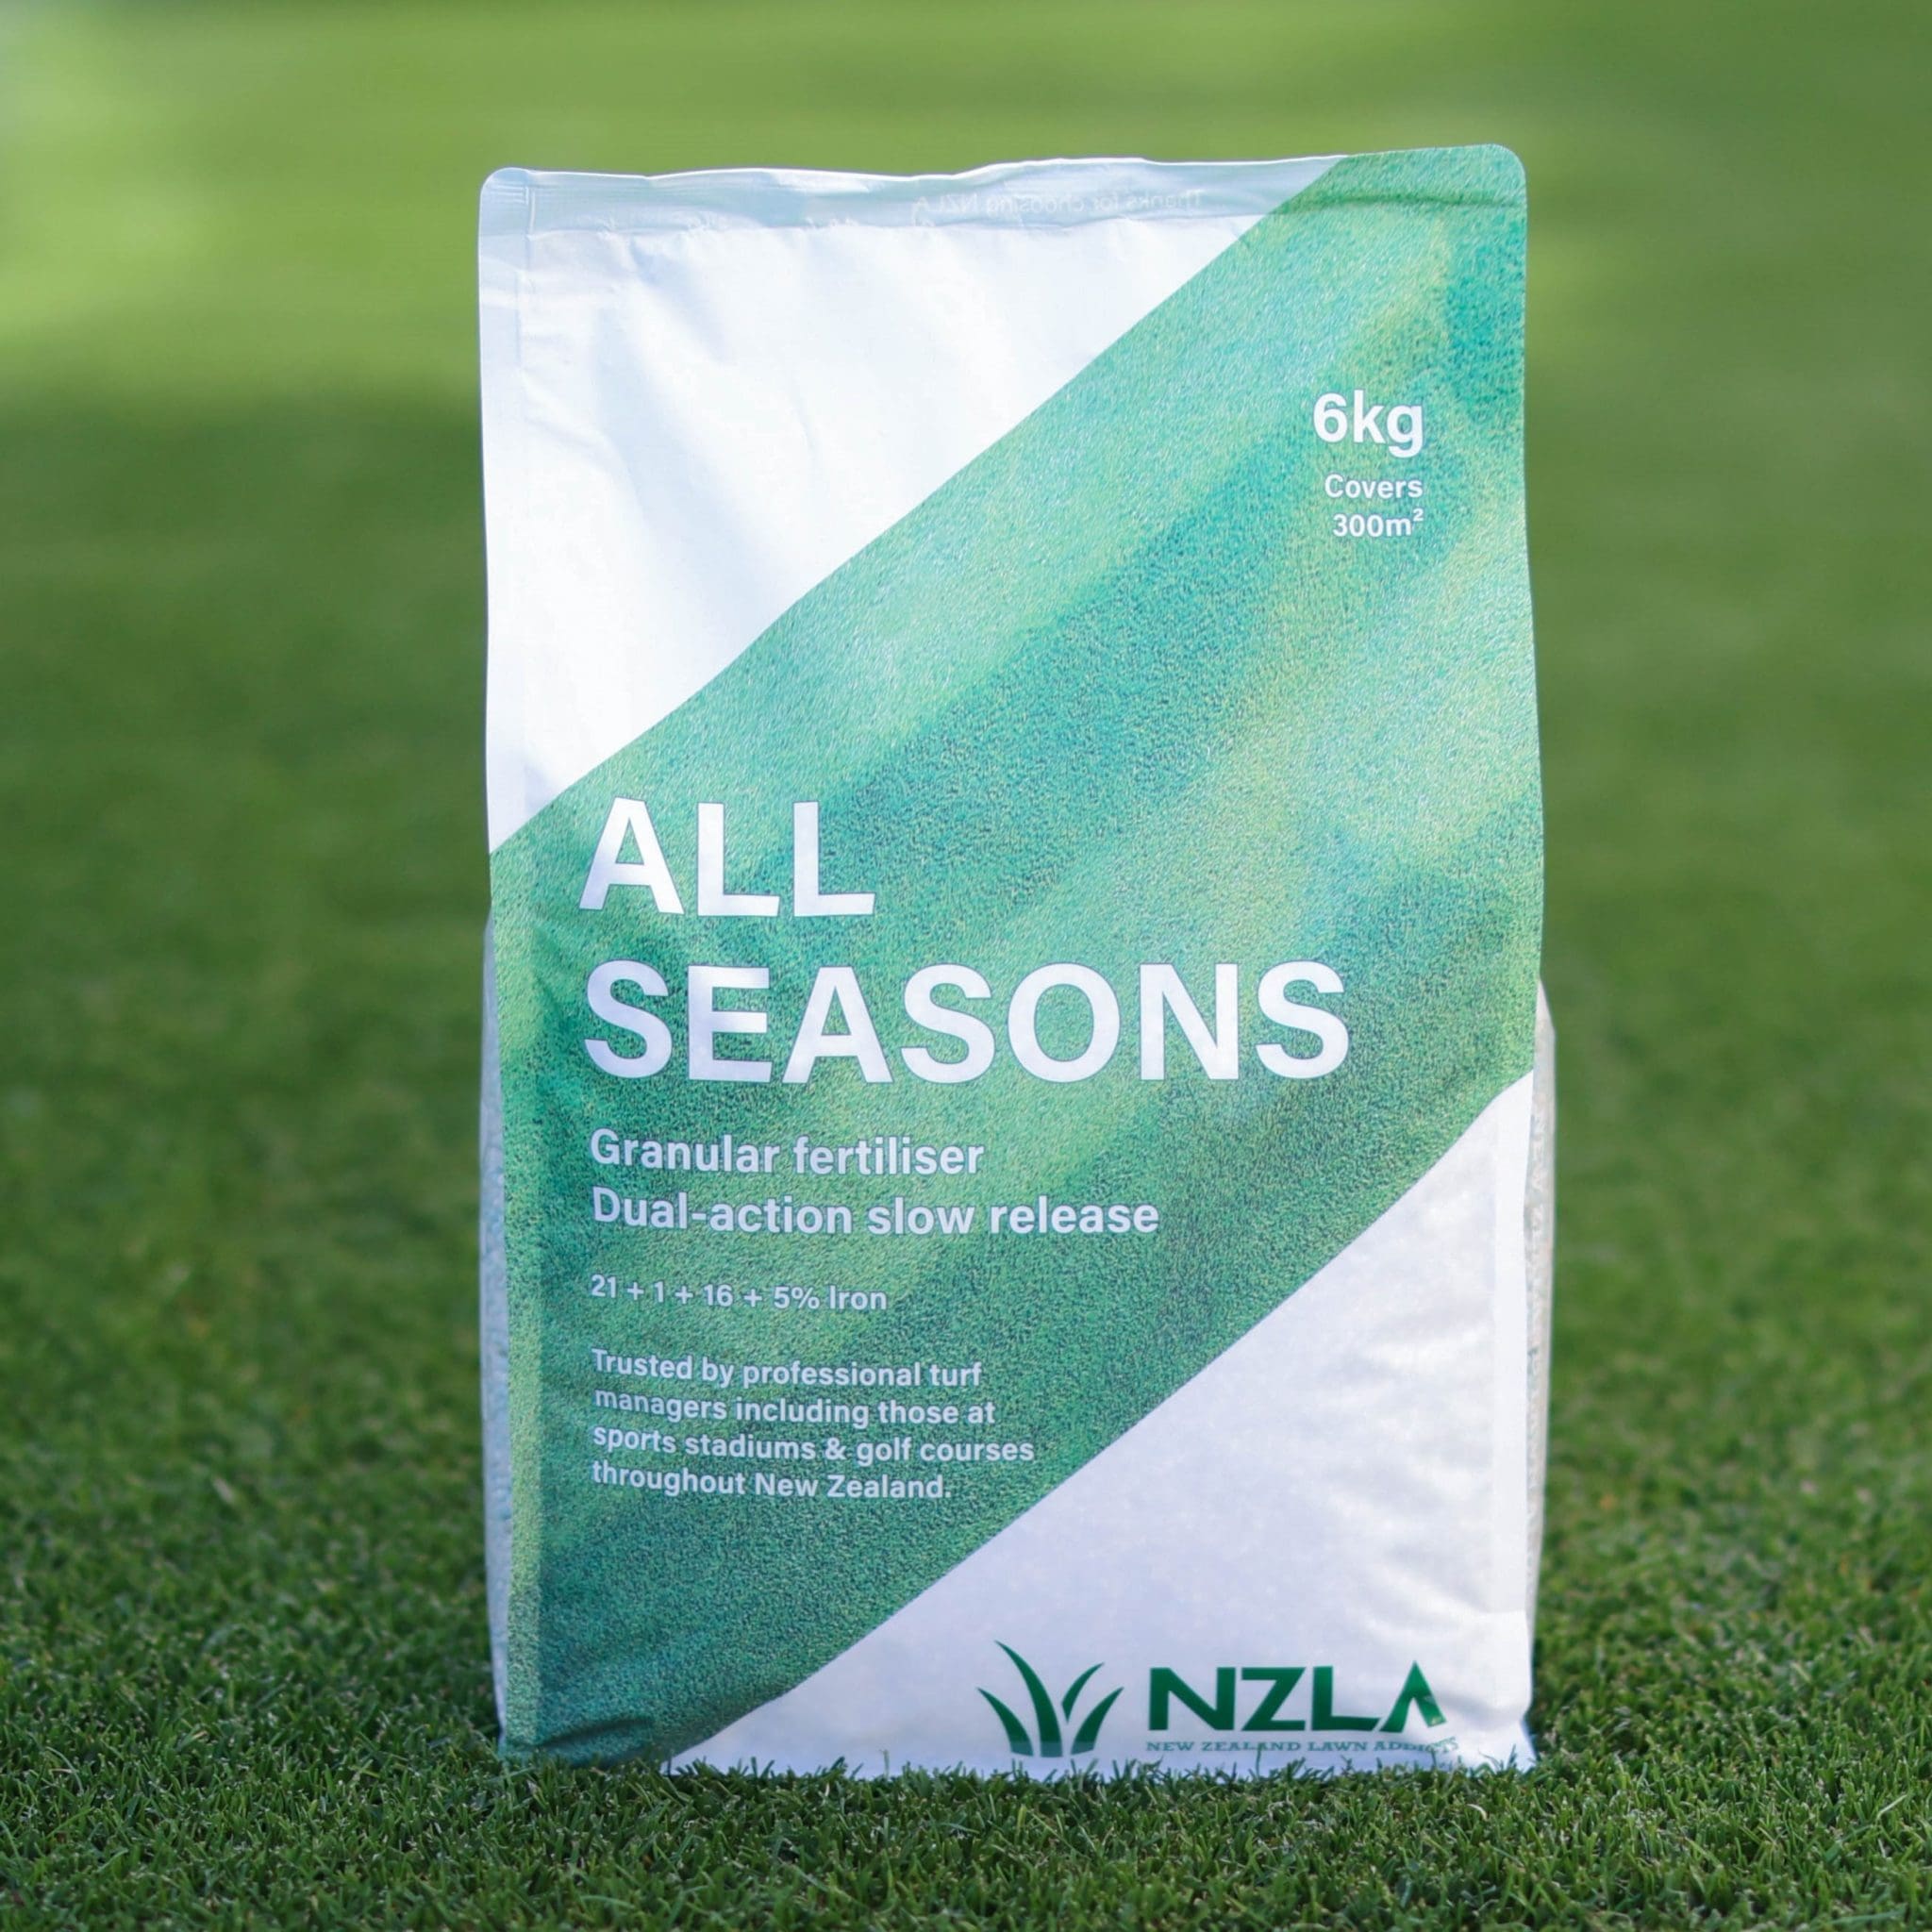
Smaller dogs’ urine can often have the opposite effect and promote growth if your lawn is low in nitrogen – you’ll know if you start seeing small patches of dark green growth where the dog has peed. This is an indication your lawn could do with a feed, and applying a quality slow-release fertiliser like NZLA All Seasons will create a consistent colour across your turf.


Some dogs do cause burn
Often when you see urine burn marks on lawns, you’ll see a ring around it where the nitrogen level has promoted some growth but has not been enough to burn the lawn.
Prevention methods
Dilute the urine: When you notice your dog has peed on the lawn, quickly pour water over the area to dilute the urine. This will help prevent the concentration of nitrogen from burning the grass.
Train your dog: If you want to prevent future urine patches, consider training your dog to pee in a specific area. Reward your dog with treats and praise when they use the designated area to encourage the behaviour to continue.
We’re not a fan of products you place in a dog’s water bowl that claims to reduce dog burn in your lawn. In a poll conducted in the New Zealand Lawn Addicts Facebook group in May 2023, 97% reported that such products didn’t work for them.
Fertiliser considerations
We’ve received feedback from customers that using higher nitrogen fertilisers such as All Seasons N+ or fast-release ‘upfront’ fertilisers has contributed to dog burn.
They have reported improvements when switching to All Seasons, which contains less nitrogen upfront and more slow-release nitrogen than most other fertilisers.
Train your dog not to pee on your lawn
- Designate an area in your garden where the dog can go to the toilet. Pick a spot where they feel safe, away from busy roads. Keep the site clean and pick up after them at least every other day.
- Take your dog out to the area frequently on a leash and use a command such as ‘quick’ – this may take some time for the first few attempts, so be prepared to stand around until the dog goes (though this isn’t such an issue if done first thing in the morning). This step is significant because you’re teaching the command ‘quick’, which will be helpful later.
- Praise or give treats – but remember to do so immediately after they’ve finished, not after they return inside. Rewarding your dog for going in the correct area teaches what is expected of them. Before rewarding them, be sure they’ve finished.
- After a week, remove the leash however continue to go with your dog to the area so you can correct them if they try to go to another place. Follow the same praise or treat reward system you did during week one. You will most likely find the dog tries to move away from the area during this stage, so don’t be afraid to reintroduce the lead for longer if needed. Often a firm voice saying “No, come here” and praise when back in the right area will be enough.
- You should notice your dog going ahead of you to its toileting area when you take it out. Begin reducing how far you go with your dog every day, ensuring you’re still using the command ‘quick’ every time, followed by a reward.
- Eventually, you’ll be able to open the door, use the command ‘quick’ and have your dog take themselves to their toileting area before returning for praise or a treat. During this process, it’s important not to scold or punish your dog. Go back a step if needed. A firm tone is only required when moving to the off-leash stage and your dog tries to move away from the area.
